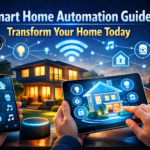
Your home is your sanctuary, and you want to make sure it stays safe without overspending on fancy professional systems. DIY smart home security systems let you tackle that challenge on your own terms so you can keep an eye on everything that matters. While it might sound complicated at first, most setups are easier to assemble than you might think. With the right gear and a little bit of time, you can create a solid security setup that balances cost, convenience, and peace of mind.
If you have a knack for hands-on projects, you’re in good company. DIY smart home security systems fit perfectly into the growing trend of connected home improvements, and they can be expanded to control nearly every aspect of your living space. Ready to learn more? Below is a step-by-step look at how to get started, plus ideas for enhancing your security system with additional smart home features.
Plan your security strategy
Every good DIY project begins with a plan. Start by identifying the most important areas in your home that need protection. Doors, windows, and any space where you keep valuables should be your top priorities. You’ll also want to note how many entry points you have. That number influences how many sensors and cameras you need, helping you avoid buying extras you won’t use.
Next, decide how you prefer to be alerted if something goes wrong. Do you want push notifications on your phone, text messages, or possibly email alerts? Different DIY smart home security systems let you customize these options, so you only receive the notifications that fit your lifestyle. You can even integrate your setup with other devices, such as lights that flash when a sensor is triggered or smart speakers that announce an intruder.
This planning stage is also a great time to look ahead and decide if you’ll be adding more diy smart home projects in the future. A well-chosen security hub can connect to sensors for everything from water leaks to temperature changes, giving you a flexible platform to handle additional tasks beyond security.
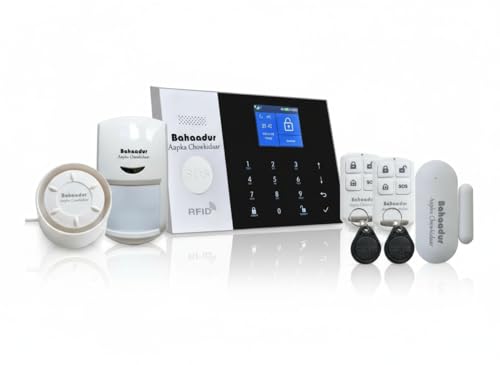

Gather your essential components
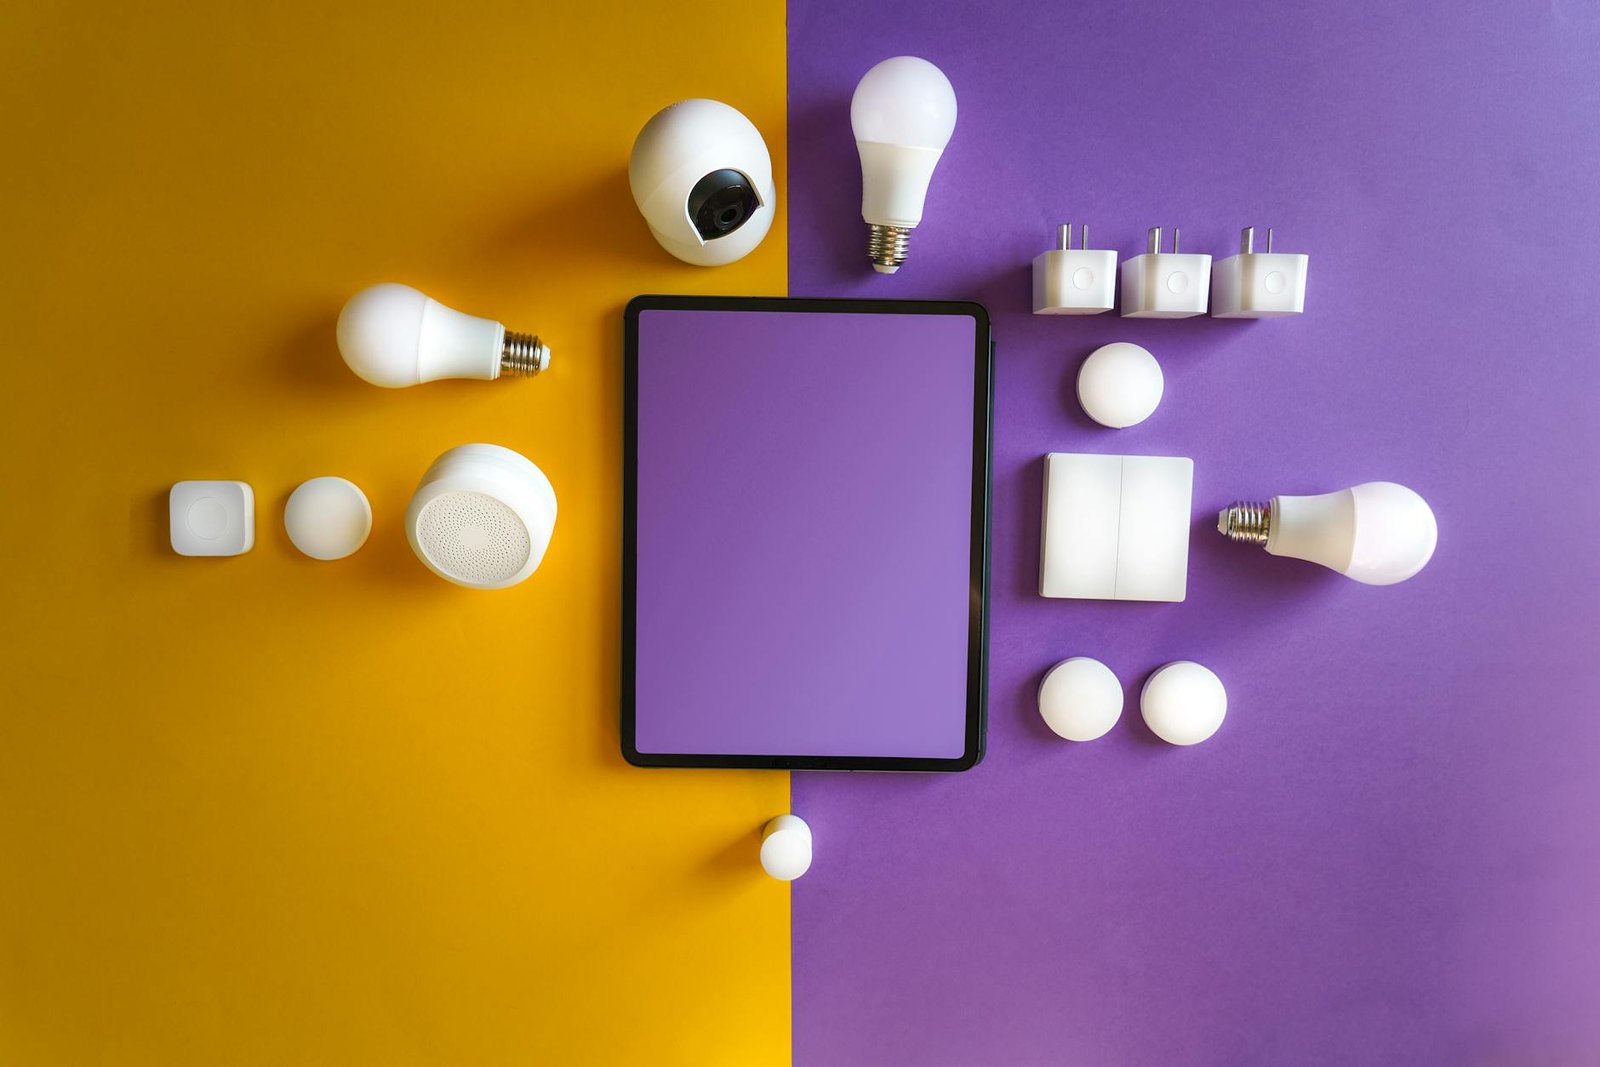
It’s easy to feel overwhelmed by the massive variety of gadgets on the market. To keep it simple, focus on a few key components that form the backbone of any solid DIY smart home security system:
- Security hub or gateway
- Door and window sensors
- Motion detectors
- Security cameras
- Mobile app for alerts and monitoring
Each of these items should be compatible with one another, so always check the product specs for compatibility. For instance, if you’re using a popular DIY platform like Zigbee or Z-Wave, double-check that any additional sensors you buy support the same protocol. If you’re more interested in a do-it-all solution, some brands sell security bundles that already include a hub, sensors, a camera, and a mobile app.
Looking for more customization? You can experiment by building your own security hub with home automation with raspberry pi. It lets you tailor the hardware and software to your liking, which works especially well if you enjoy fine-tuning or want to expand your system’s capabilities later.
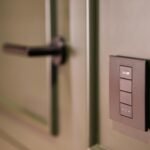
Install door sensors and cameras
Once you’ve purchased your core devices, it’s time to install them. Door and window sensors usually come with adhesive strips and require little more than proper placement and a quick link to your hub. Follow the manufacturer’s instructions for pairing sensors, which typically involves pressing a button on each sensor and letting your hub detect it. Test each one by opening the door or window to ensure you receive an alert or see an updated status in the app.
Your security cameras will require a bit more thought when it comes to placement. Cameras should ideally be located at main entry points and angled to capture as much detail as possible without picking up too many irrelevant areas (like your neighbor’s yard or the street). If you need to run cables, plan a safe route that doesn’t create tripping hazards. Wireless cameras may simplify setup, but remember you’ll need to ensure a steady Wi-Fi signal and sufficient battery life if they aren’t wired.
After everything is installed, walk around your home to see if there are any blind spots. You might discover that certain corners are left unmonitored by the camera angle, or a sensor might be more effective on a different window. Small adjustments in placement can make a big difference in the overall coverage of your DIY smart home security system.
Add motion detection and alerts
Even if your doors and windows are fully secured, potential intruders could still find their way in through less obvious routes. Installing motion detectors is an affordable way to make sure you don’t miss suspicious activities in hallways, staircases, or large rooms. Most motion sensors attach to walls or corners, and you can adjust their sensitivity to reduce false alarms (like a pet walking by).
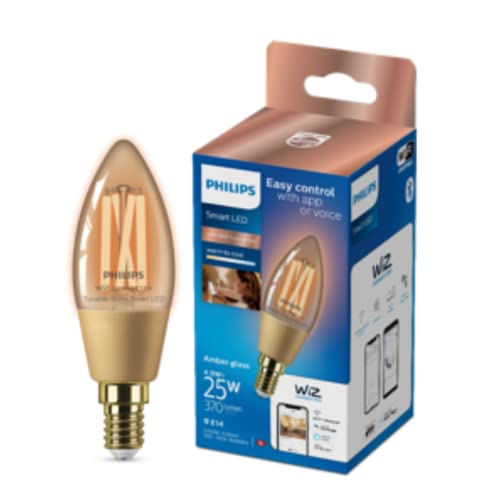
To take your security to the next level, consider combining motion detectors with automated lights. For example, when the sensor picks up movement, you can have a nearby lamp switch on to scare off an intruder. Integrating automation through a robust platform is a great way to synchronize lights, sensors, and cameras for a seamless experience.
Always link your sensors to your mobile app so you’ll be notified immediately when something trips a detector. You’ll want to fine-tune your alerts as well. Constant notifications for every small motion can become overwhelming, so it helps to group your sensors by priority. You might set high-priority alerts for any activity detected when you’re away from home and silence non-critical pings while you’re inside.
Integrate and maintain your system
Building your own security setup isn’t just about preventing break-ins. You can link other forms of automation to create a more convenient lifestyle. If you’d like to control lights, thermostats, or even open your garage door with a simple voice command, consider exploring diy voice controlled home automation. This approach lets you handle everything from quick security checks to turning off the lights without lifting a finger.
Once you have motion sensors, cameras, and door monitors all working together, it’s important to keep your system updated. Check for firmware updates and schedule regular tests to confirm each device is active. You can also set reminders for battery-powered cameras or sensors, ensuring your security hub isn’t suddenly left offline.
If you’d like to expand your system even further, you can experiment with other home improvement smart automation projects. Security might be the first step, but your system can do much more, such as adjusting your thermostat when you leave for work or sending you a reminder if you forgot to close a window.
Ways to refine your setup
A fully integrated DIY security system never has to stop at the basics. You can add upgrades gradually, focusing on features that matter most to you. Some people prioritize convenience, like disarming the system automatically when their phone connects to home Wi-Fi. Others prefer advanced security strategies, like a step-by-step lockdown mode that arms all sensors, records footage, and transmits a silent alarm.
Here are a few ways to enhance your home security setup even further:
- Tie your security system into a larger home automation platform with tools like diy smart home projects
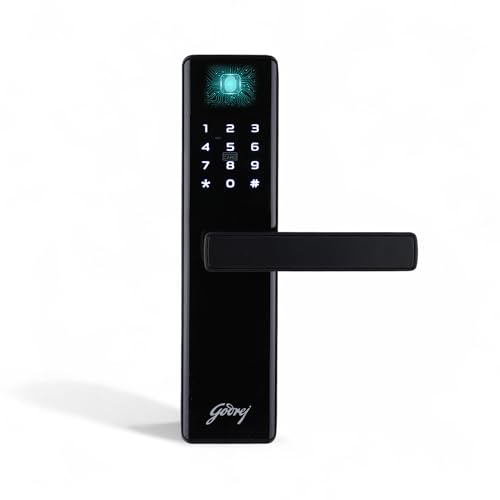
- Use smart door locks that alert you when someone unlocks your door
- Add a siren or flashing lights to deter intruders if a sensor is triggered
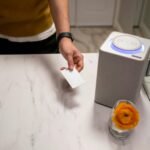
- Investigate water leak or smoke sensors to protect your home from non-intruder hazards
You might find that as you implement new features, the convenience of having a single, centralized system grows. The best part is that most of these add-ons will sync with your existing hub, keeping your phone or tablet as the control center.
Keep home security budget-friendly
While you can invest in premium devices, there’s no rule that says every element of your security system has to be high-end. You can mix and match different brands and models to meet your budget. Often, the most critical items in a security system are the ones that immediately alert you to suspicious activity. That means reliable sensors, stable cameras, and a user-friendly app can go a long way.
Time is also a form of cost, so simplify your approach where it makes sense. If you find it too challenging to angle cameras or run wires outdoors, start by focusing on indoor coverage, at least until you’re more comfortable with the technology. You can always upgrade or reposition devices later.

Final thoughts on DIY smart home security systems
Securing your home doesn’t have to be a daunting or expensive endeavor. By tailoring your DIY smart home security systems to your exact needs, you’ll build confidence in your setup and enjoy better peace of mind. Whether you start by installing a single smart doorbell camera or you jump straight into a multi-device system, you’re in control of how robust you want your security to be.
Best of all, these DIY solutions can evolve alongside your home. You can integrate them with more advanced hubs or explore unique configurations like home automation with raspberry pi. In time, you’ll have a personalized infrastructure that not only keeps you safe but also makes your everyday routines more convenient.
If you’ve been on the fence about adding security cameras or sensors, now is a great time to dive in. With a clear plan, simple gear, and a bit of DIY spirit, your home will stay protected, and you’ll have the satisfaction of knowing you built that security system yourself. After all, there’s nothing quite like feeling in control of how your home stays safe.